Builder long-tail page
Outdoor kitchen refrigerator dimensions
Measure width, height, depth, handle swing, toe-kick clearance, and service access against the exact product page.
Short answer
Most outdoor kitchen buyers should start with cabinet fit, not brand. Width, height, depth, venting, and hinge clearance decide whether a beverage fridge will work under a counter.
Dimension targets
| Dimension | Common target | Check before buying | Why it matters |
|---|---|---|---|
| Width | 23.4 to 24 in | Cabinet cutout width | A tight cabinet can block airflow or prevent leveling. |
| Height | 32 to 35 in | Counter underside | Adjustable feet help, but only within a small range. |
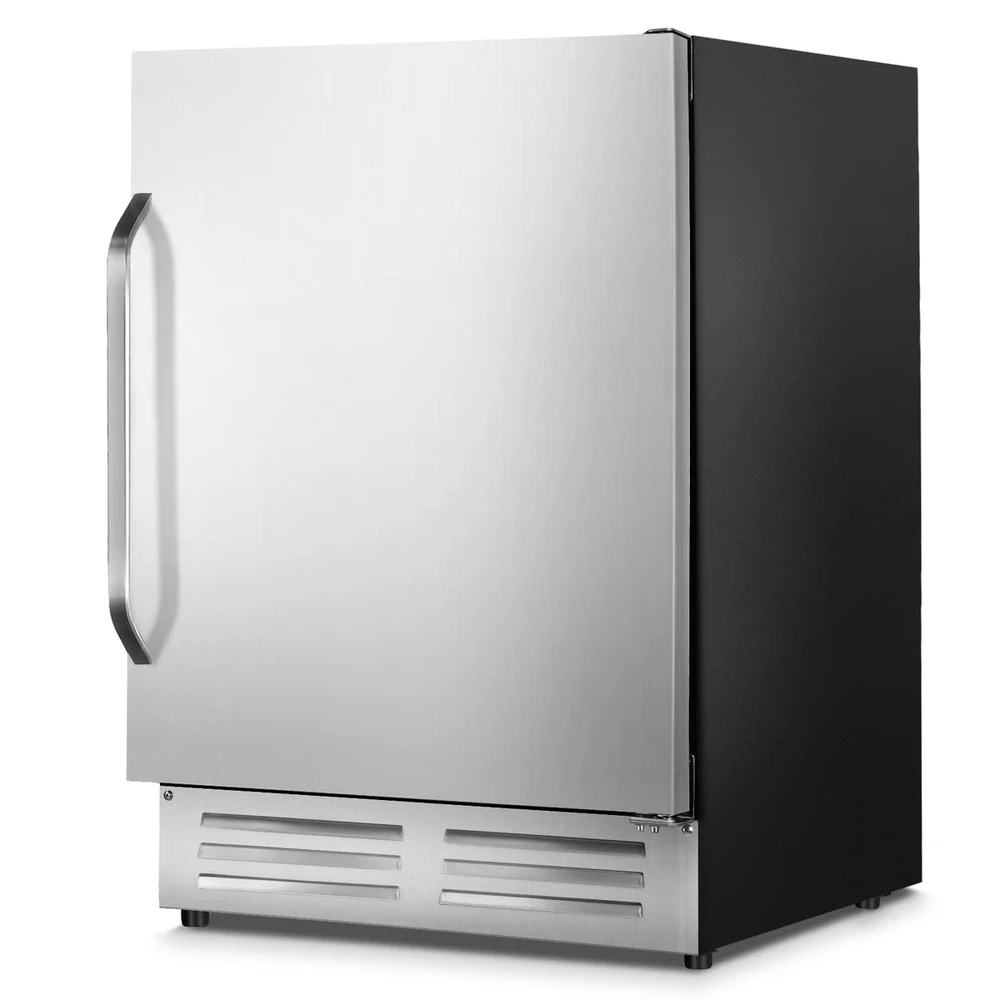
| Depth | 22 to 25 in | Door and handle depth | Handles can protrude beyond the cabinet face. |
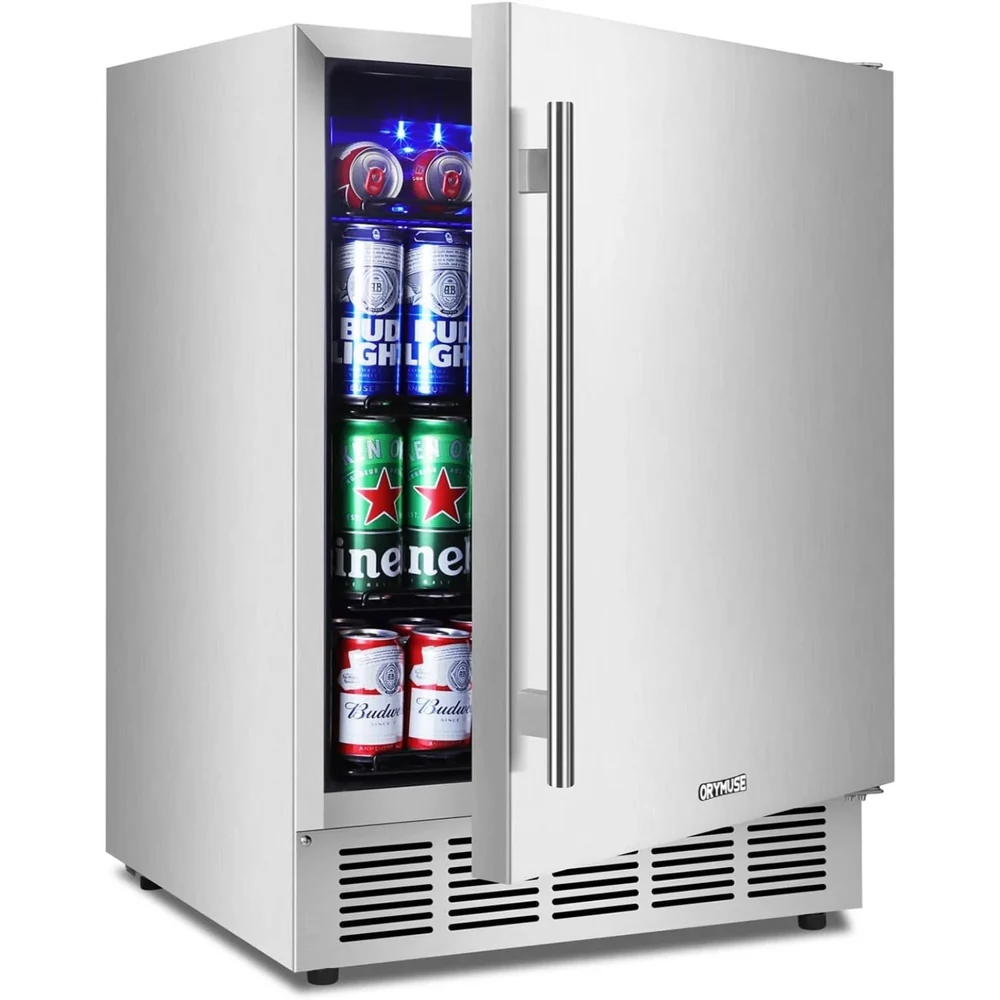
| Venting | Front venting | Toe-kick grille | Built-in units need a clear exhaust path. |
Three quick steps
- Step 1 — Measure the opening. Measure width, height, and depth in more than one spot because outdoor cabinets may not be perfectly square.
- Step 2 — Check ventilation. Use a front-venting fridge for built-in cabinets. Freestanding units usually need more side and rear clearance.
- Step 3 — Confirm door swing. Make sure the hinge and handle clear nearby walls, grills, drawers, and island corners.
The product title says 24 inch. Your opening still decides.
Outdoor appliance listings often round widths into simple labels. A fridge sold as 24 inch may be slightly narrower than 24 inches, and the cabinet opening may need extra space for leveling, door swing, or airflow. That is why the actual cutout matters more than the product title.
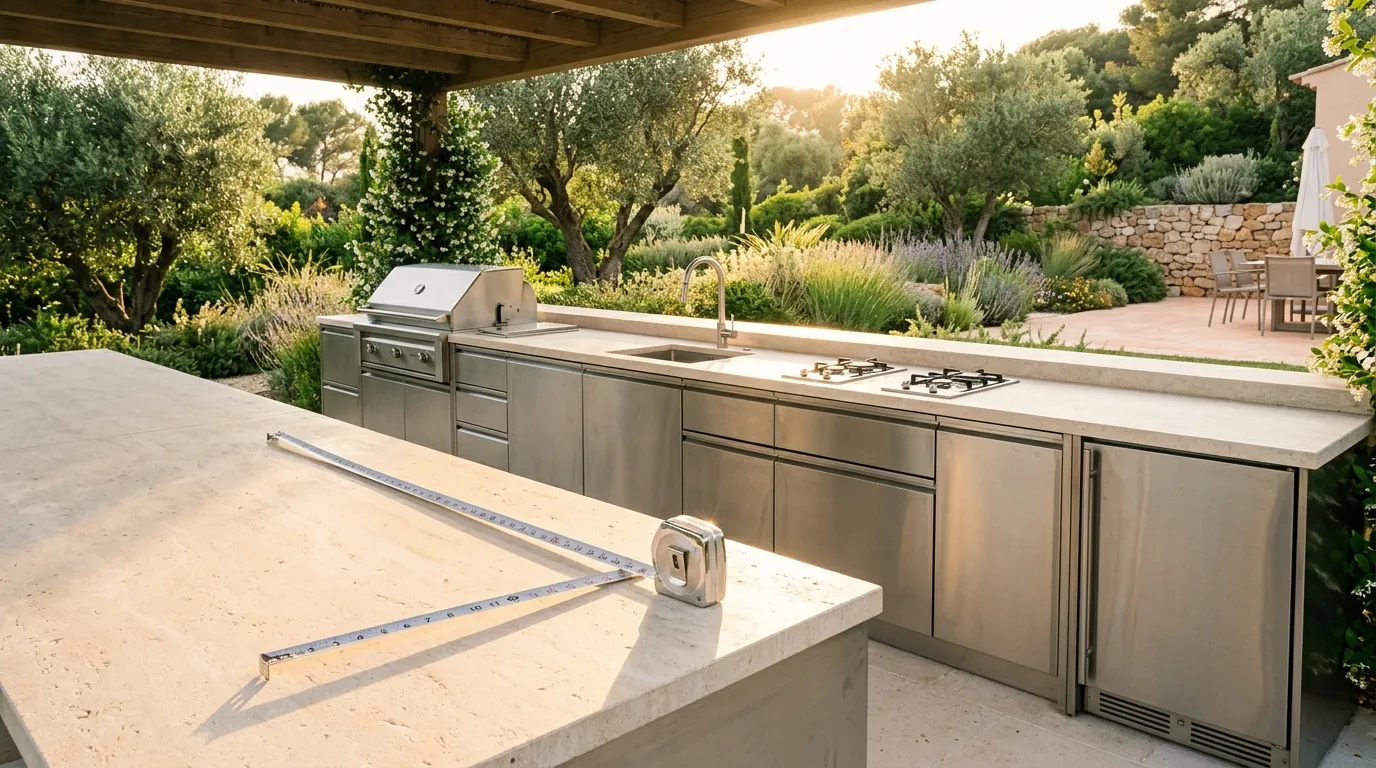
Measure the finished opening after countertops, side panels, trim, and flooring are installed. A fridge that fits on paper can still feel wrong if the handle sticks past the island, the hinge hits a corner, or the rear outlet pushes the unit forward.
Measurement worksheet
- Opening width — Measure top, middle, and bottom. Use the smallest number when comparing against the product dimensions.
- Opening height — Check the finished floor to underside of counter. Adjustable feet can help, but they cannot fix a short opening.
- Depth with handle — Compare cabinet depth against the full appliance depth, including handle, hinge, plug, and rear clearance.
- Door path — Open space matters. Check walls, grill handles, drawers, trash pullouts, and where guests will stand.
Match the install to the fridge style
| Install type | Best fridge style | Why it matters |
|---|---|---|
| Built-in outdoor island | Front-venting outdoor-rated fridge | The cabinet surrounds the appliance, so heat needs a front exit path. |
| Freestanding patio bar | Outdoor-rated freestanding fridge | The unit can breathe if it has enough open side and rear clearance. |
| Replacing an old fridge | Match actual dimensions, not just width class | Old cutouts may be uneven, trimmed, or blocked by plumbing and electrical. |
Common fit mistakes
Forgetting the handle depth
A fridge can technically fit the opening while the handle still sticks into a walkway or blocks a nearby drawer.
Blocking the toe-kick grille
Front ventilation only works if the grille is open. Do not cover it with trim, stone, or a decorative panel.
Ignoring the outlet location
A rear plug, GFCI outlet, or bulky adapter can reduce usable depth and push the fridge forward.
Replacing an old outdoor fridge?
Do not assume the old appliance size is the new appliance size. Measure the empty opening after pulling the old fridge forward, then check whether the cabinet has changed from heat, moisture, stone trim, or settling.
- Check the old vent path — If the old fridge ran hot or failed early, the cabinet may have been starving it for airflow.
- Check the electrical — A GFCI outlet, plug shape, or adapter can steal depth inside a tight outdoor island.
- Check delivery clearance — Measure gates, steps, island openings, and the path from driveway to patio before ordering.